How To Root Your Android Device With PC And With Out PC
How to root android divice

What You Should To Know Before Root Your Android Device?
Typically, Google and manufacturers do not recommend you to root Android devices because it makes your Android OS is more weak. After rooted, most apps are able to working out of the sandbox and could abuse root privileges and snoop on other Android apps. For example, if you are using Google Wallet, someone can try to attack your Android devices and exploit your Google Wallet account.
In terms of some manufacturers, you will lose warranty of the device if it’s rooted. The root process is not actually damaging the hardware. You are also able to unroot the device by just restore the stock firmware, and manufacturers will not able to know if it’s been rooted or not.
Basically, rooting is a safe process, but if you mess something up, then you can’t expect a free fix from warranty service. So make sure you clearly know what you will do in the next step or know how to restore your Android device in case it got errors. I would suggest you backup your data and important files before root your Android device. If you don’t know how to backup the device, then the simplest way is using Android file transfer to copy your important data and files.
what is root?
Rooting is the process of allowing users of smartphones, tablets and other devices running the Android mobile operating system to attain privileged control (known as root access) over various Android subsystems. As Android uses the Linux kernel, rooting an Android device gives similar access to administrative (superuser) permissions as on Linux or any other Unix-like operating system such as FreeBSD or OS X.
Rooting is often performed with the goal of overcoming limitations that carriers and hardware manufacturers put on some devices. Thus, rooting gives the ability (or permission) to alter or replace system applications and settings, run specialized applications ("apps") that require administrator-level permissions, or perform other operations that are otherwise inaccessible to a normal Android user. On Android, rooting can also facilitate the complete removal and replacement of the device's operating system, usually with a more recent release of its current operating system.
Root access is sometimes compared to jailbreaking devices running the Apple iOS operating system. However, these are different concepts: Jailbreaking is the bypass of several types of Apple prohibitions for the end user, including modifying the operating system (enforced by a "locked bootloader"), installing non-officially approved applications via sideloading, and granting the user elevated administration-level privileges (rooting). Only a minority of Android devices lock their bootloaders, and many vendors such as HTC, Sony, Asus and Google explicitly provide the ability to unlock devices, and even replace the operating system entirely.Similarly, the ability to sideload applications is typically permissible on Android devices without root permissions. Thus, it is primarily the third aspect of iOS jailbreaking (giving users administrative privileges) that most directly correlates to Android rooting.
How to root your android with Kingo Root?
- Allow installation of apps from unknown sources on your Android device.
- Settings > Security > Unknown Sources
- Free download KingoRoot.apk on your Android.
- Install and launch KingoRoot.
- Press "One Click Root" on the main interface.
- Wait a few seconds until the result appear.
- Try a few more times for different rooting methods if failed.
- If still failed, refer to KingoRoot Android PC Version, which has a higher success rate.
- For more detailed tutorial, please click
How to Root Android with KingoRoot (PC Version)
Make sure you get everything right beforehand.
- Device powered ON
- At least 50% battery level
- Internet connection necessary
- USB Cable (the original one recommended)
START ROOTING...
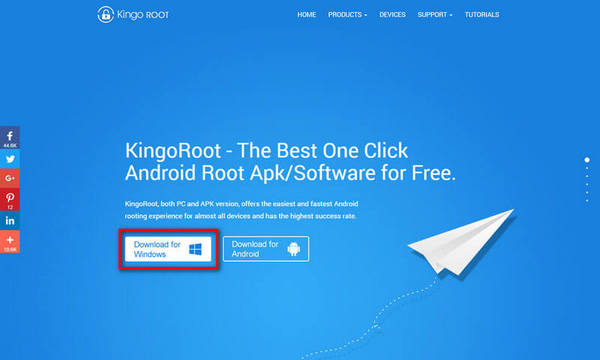
- Free download and install KingoRoot Android (PC Version).
Kingo offers the best one-click Android root software for free. Just download and install it now.
2. Double click the desktop icon of Kingo Android Root and launch it.
After launching Kingo Android Root, you will see its interface as shown below.
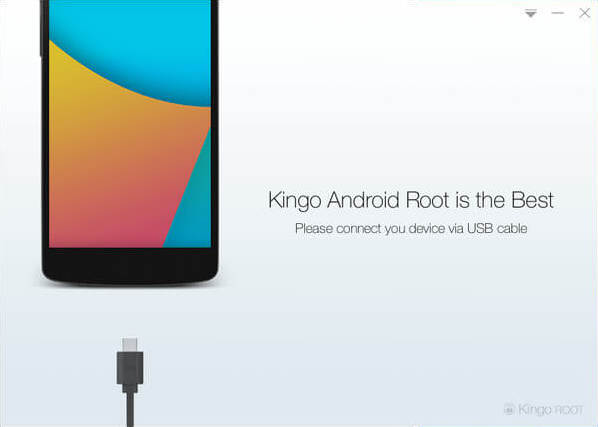
3. Plug your Android device into your computer via USB cable.
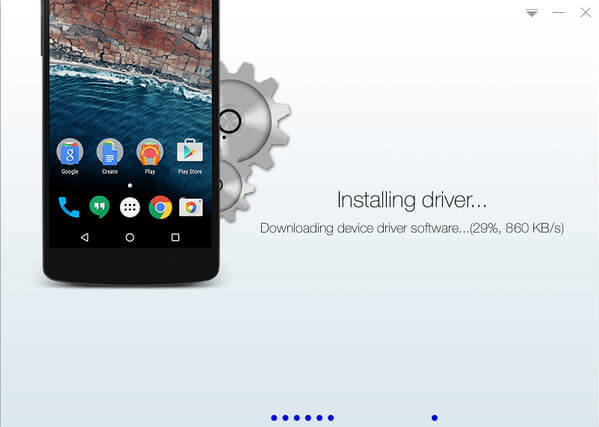
If your device driver is not installed on your Computer, Kingo will install it for you automatically. Make sure you get Internet conenction so that device driver can be downloaded. If you are using Windows 8, you may need to change some settings first. When running Kingo Android Root on Windows 8, the issue you may most likely encounter is driver installation looping.
If your device driver is not installed on your Computer, Kingo will install it for you automatically. Make sure you get Internet conenction so that device driver can be downloaded. If you are using Windows 8, you may need to change some settings first. When running Kingo Android Root on Windows 8, the issue you may most likely encounter is driver installation looping.
4. Enable USB Debugging mode on your Android device. USB Debugging mode enabled is a necessary step of Android rooting process.
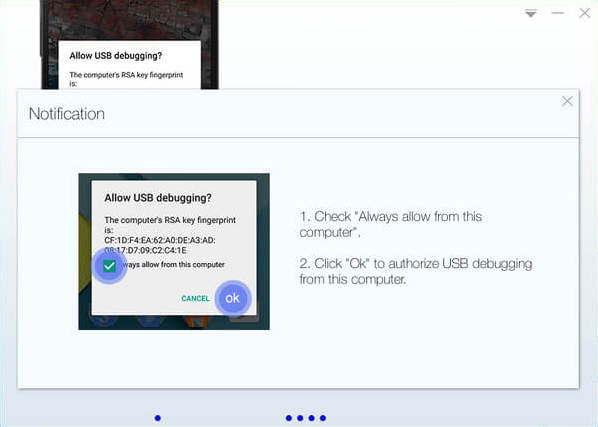
5. Read notifications carefully before rooting your device.
Android rooting is nothing big. However, it is not exactly a small issue either. Rooting your device may open a door for you, and yet with risks.
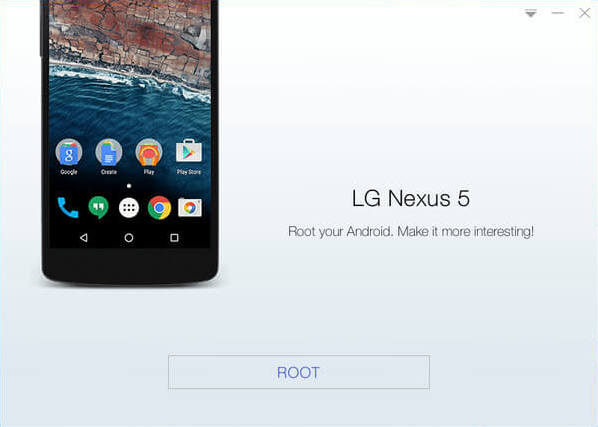
6. Click "ROOT" to root your device.
Kingo Android Root will employ multiple exploits on your device, which will probably take a couple of minutes. In the rooting process, your device may be rebooted several times. Do not be panic, it is perfectly normal. And once it begins, please DO NOT touch, move, unplug or perform any operation on your device.

7. Root succeeded.
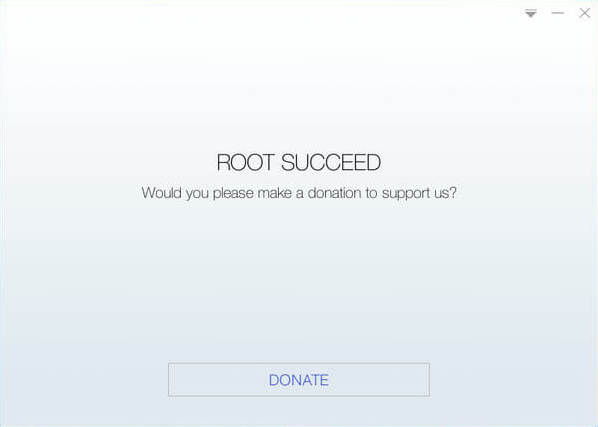
Hopefully your device is well supported and successfully rooted by Kingo. Until your device reboots itself, do not operate.
8. Check the root status of your device.

Normally, you will find an app named "SuperUser" installed on your device after successful rooting.
Subscribe our youtube channel Tech RK


your the best
ReplyDelete